You’ve registered as a vendor, prepared all your pictures and pricing and now you’re ready to launch your online rental shop. Congrats! Here are the step by step instructions. (Updated 7/27/2019)
NOTE: If you haven’t yet registered, you must complete your vendor application first.
-
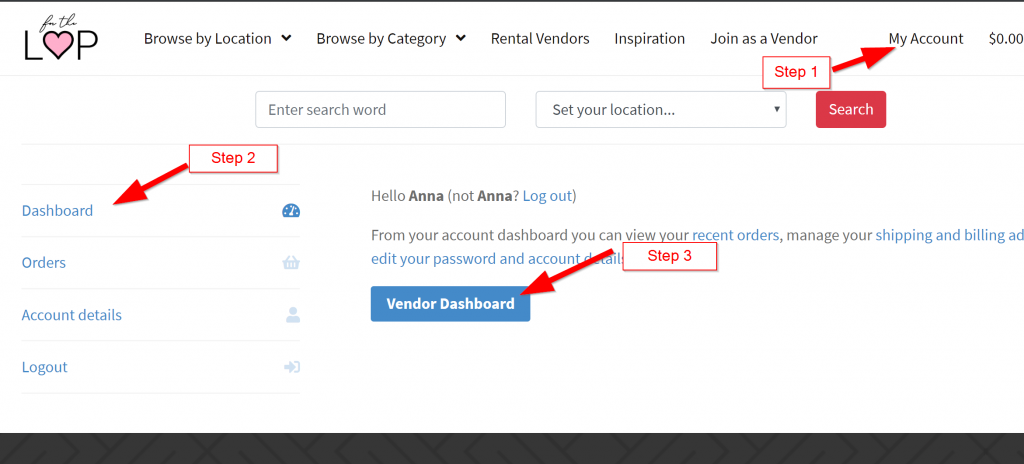
Log in to your account
You can log in to your Vendor Dashboard directly from this Dashboard Login.
Or in your “My Account” page click on Dashboard and then Vendor Dashboard.
-
On your Vendor Dashboard
– Select “Products” (located on the black side bar)
– Select “Add Products”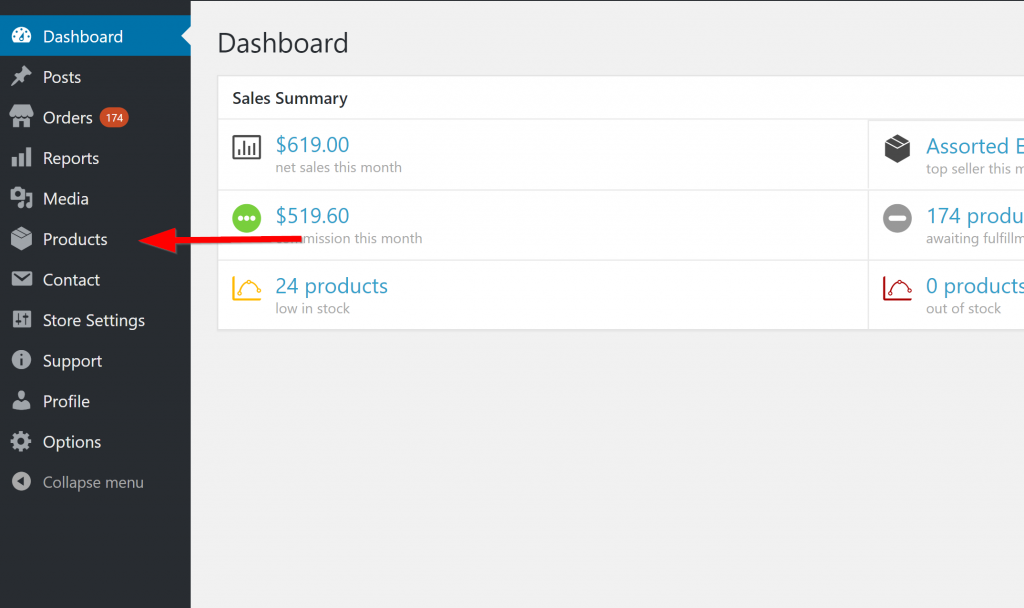
-
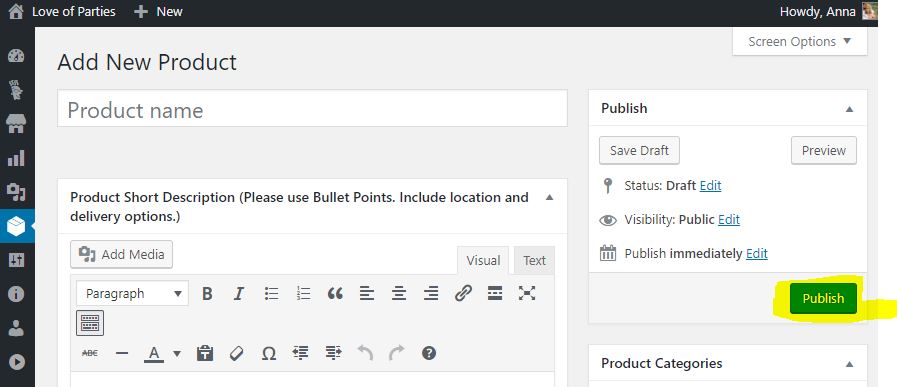
Enter product Name
Appears at the top of the product page and on inventory page.
-
Complete Product Data
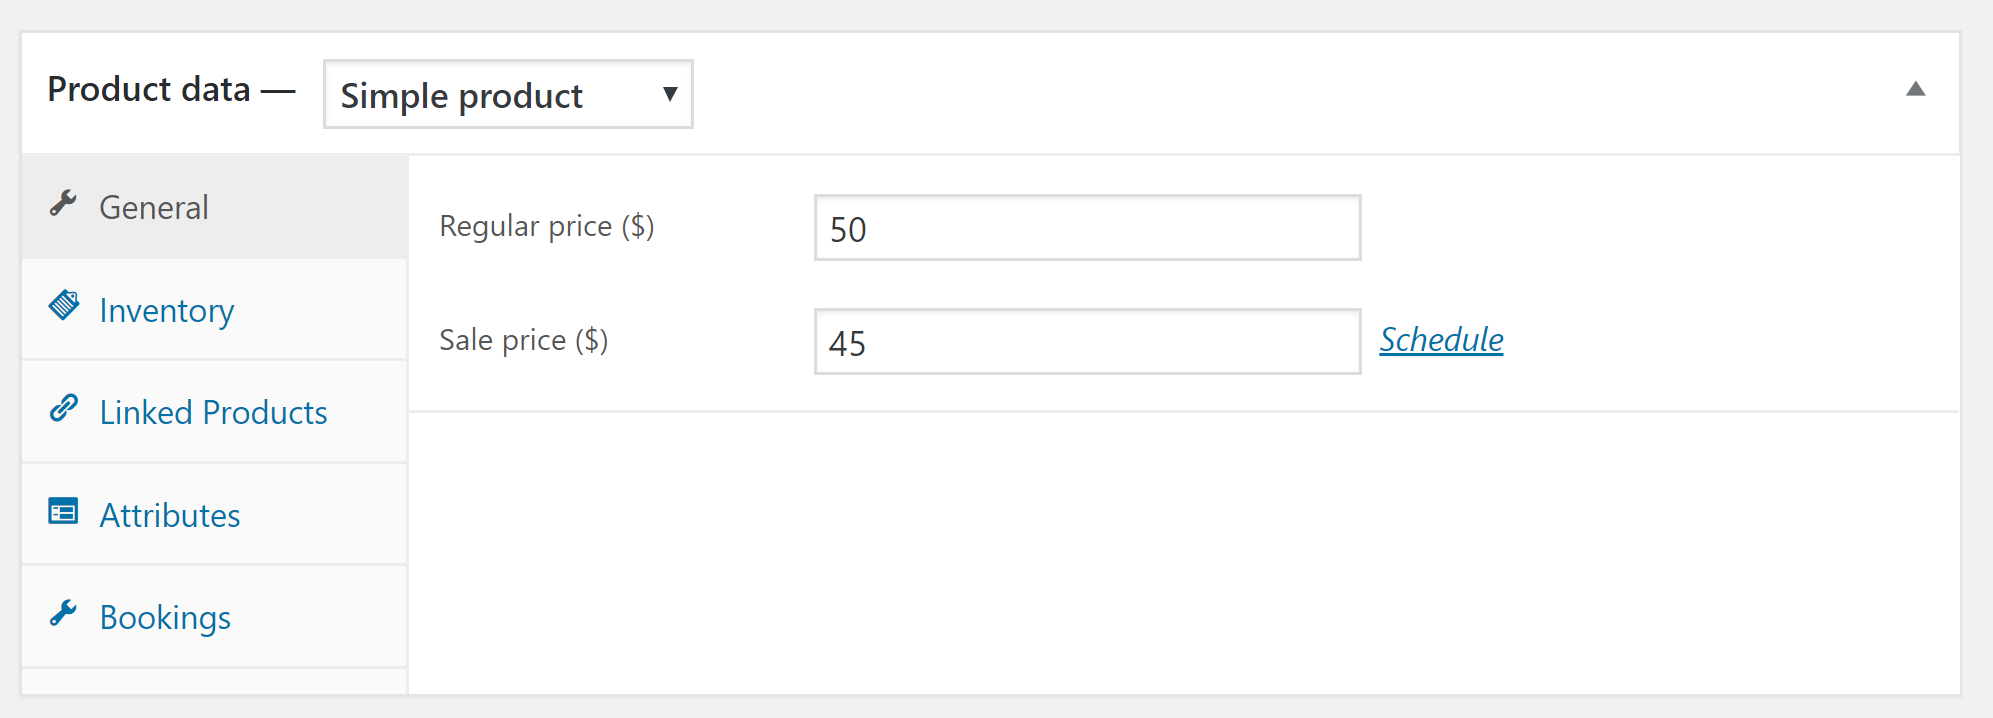
General Tab:
Simple Product – Keep this as is unless you want multiple versions of the same item (ex. you have different colored napkins). Then you can find the instructions here for variable products.
Regular price – the price for your rental for the whole rental period.
Sale price – optional. This will display a *sale* alert when clients view your item. You can also schedule your sale for certain dates.

Inventory Tab:
SKU – optional if you have product numbers.
Stock quantity – Required. Minimum of 1. This is the amount of items available.
Allow backorders – optional. Usually selected as “Do not allow”
Sold individually – optional. Not selected by default.
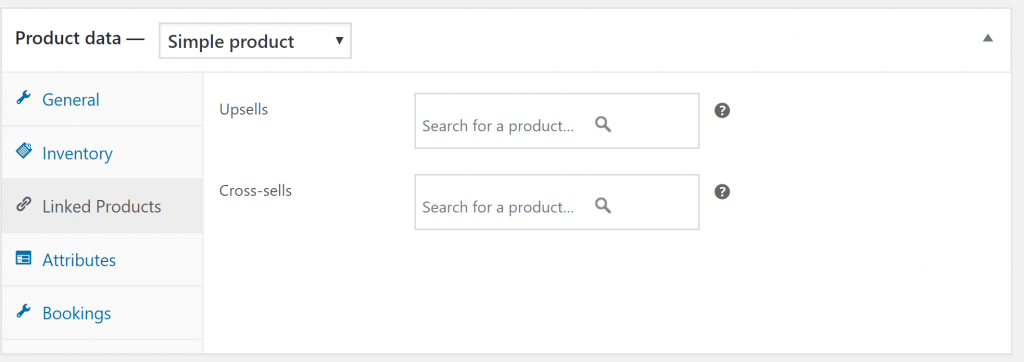
Linked Products (optional):
You can complete if you want to have certain other items be shown at the bottom of your page as “Recommended” items for them to view.
 Attributes Tab:
This is to set the item location. Select “Product Location” from the dropdown and click “Add”. Start typing in the name of the city into the Value field and select from the options that come up. Finally, click “Saved Attributes”. If you don’t see your location available please reach out to support@eventlyst.com and we’ll get the system updated for you! Bookings Tab (optional):
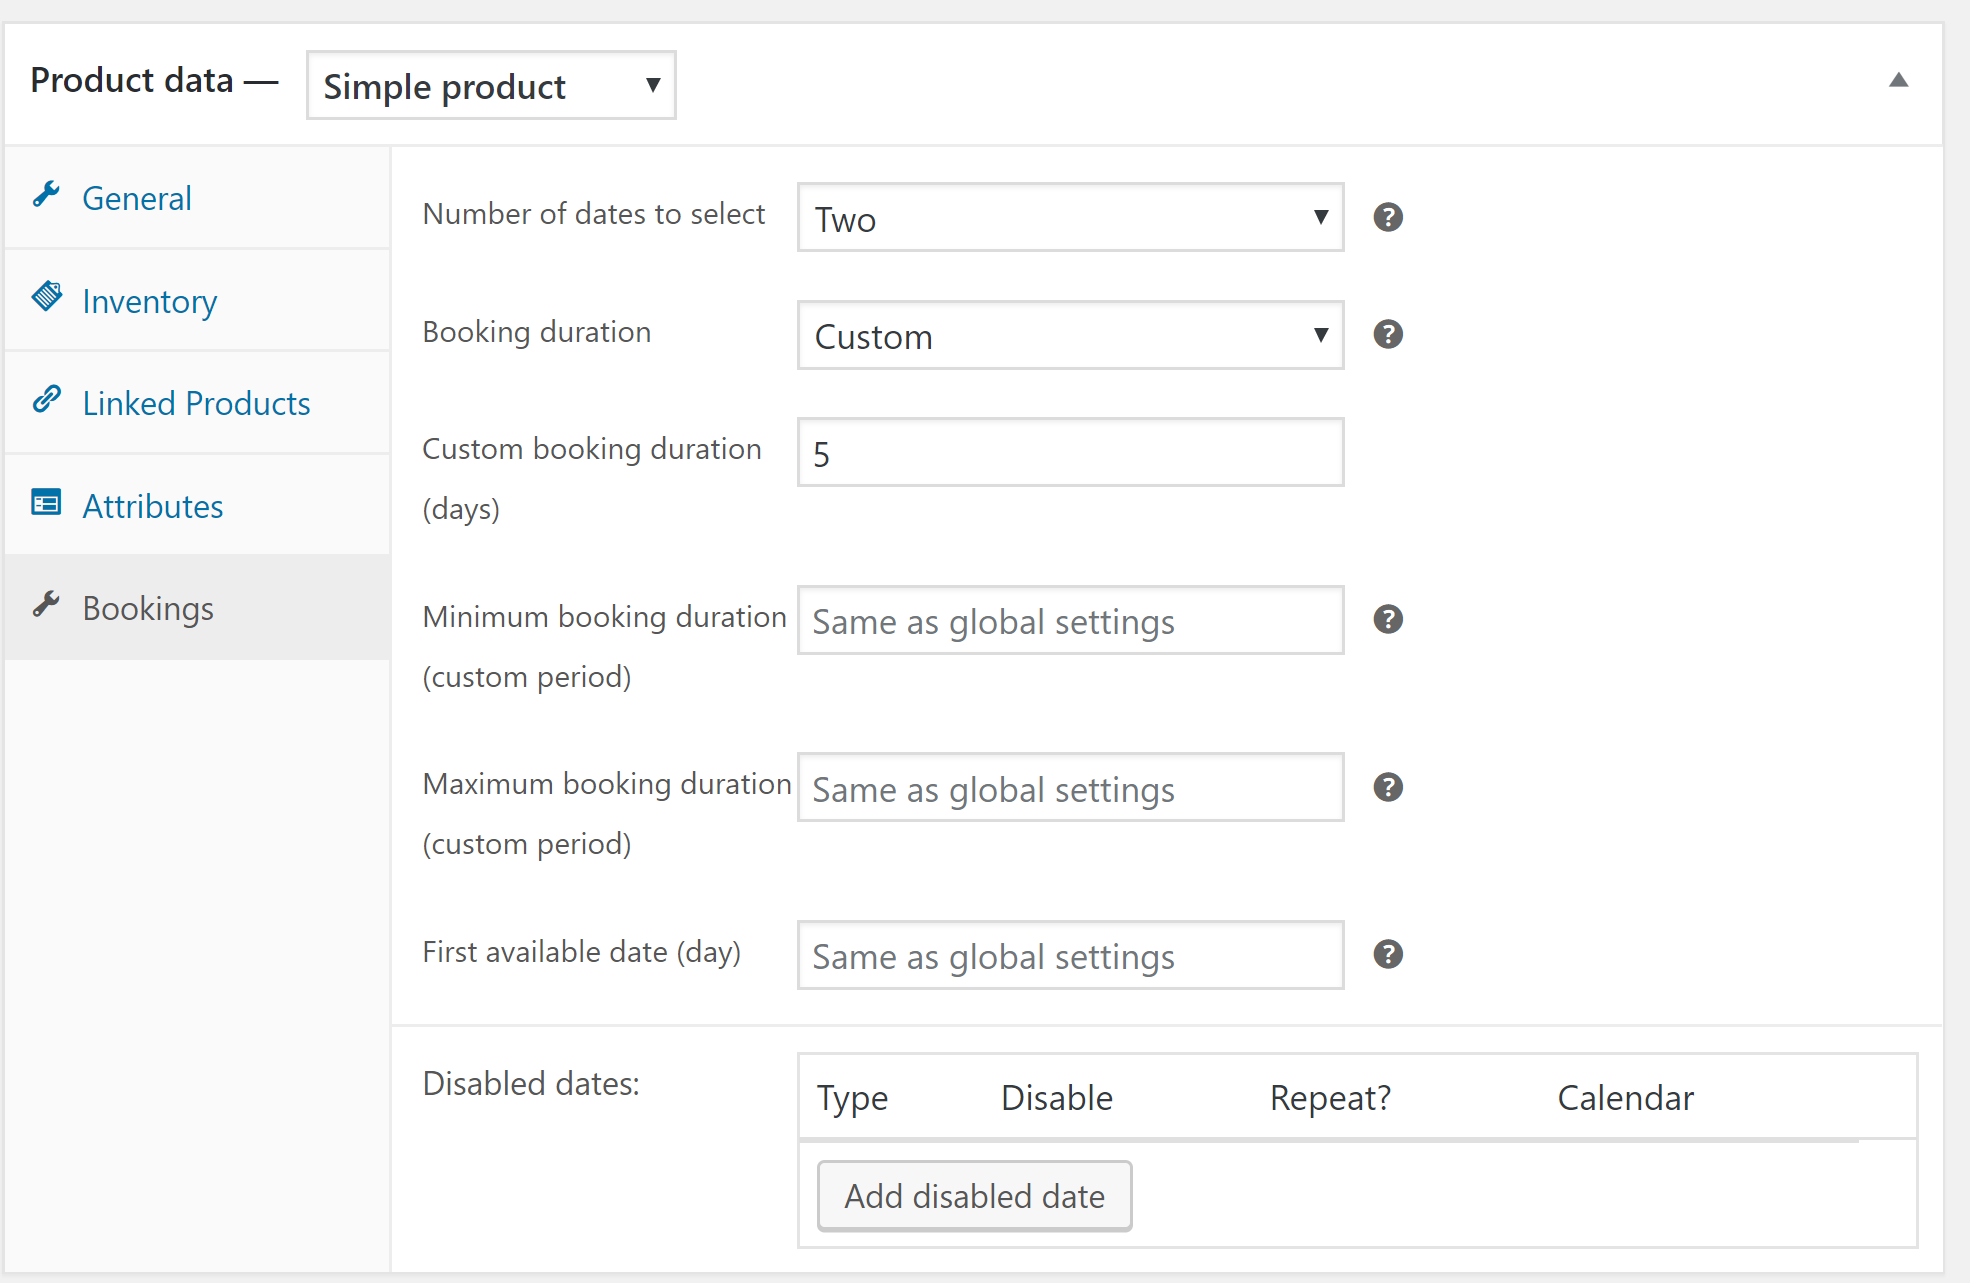
This is where you change the length of the rental period.
The default “Global Settings” rental period is for 3 days.
For a one day rental change Number of dates to select to One.
For a longer or shorter rental period change Booking duration to Custom and then enter the desired rental period.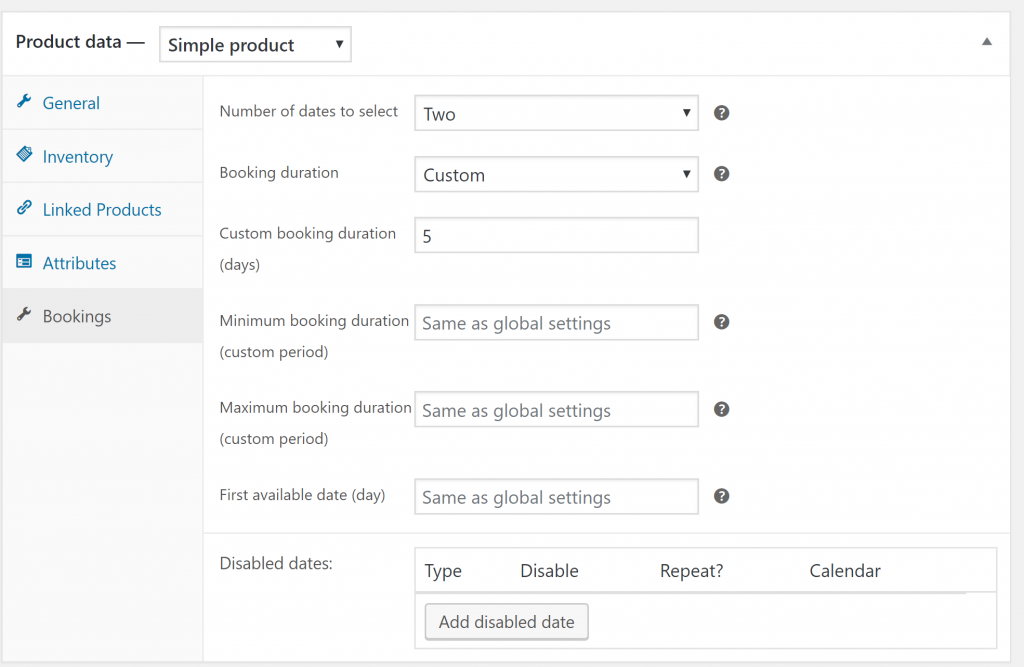
-
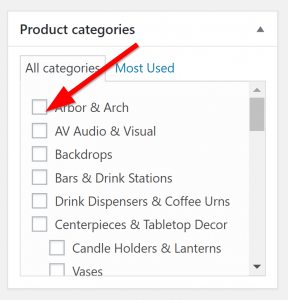
Select Product Category
Select 1-2 categories that best fit your item.
-
Upload Product Image and Product Gallery
- The Product Image is what appears on the main inventory page (mandatory)
- Product Gallery will show clients additional pictures when they view the product page (optional)
-
Product Descriptions
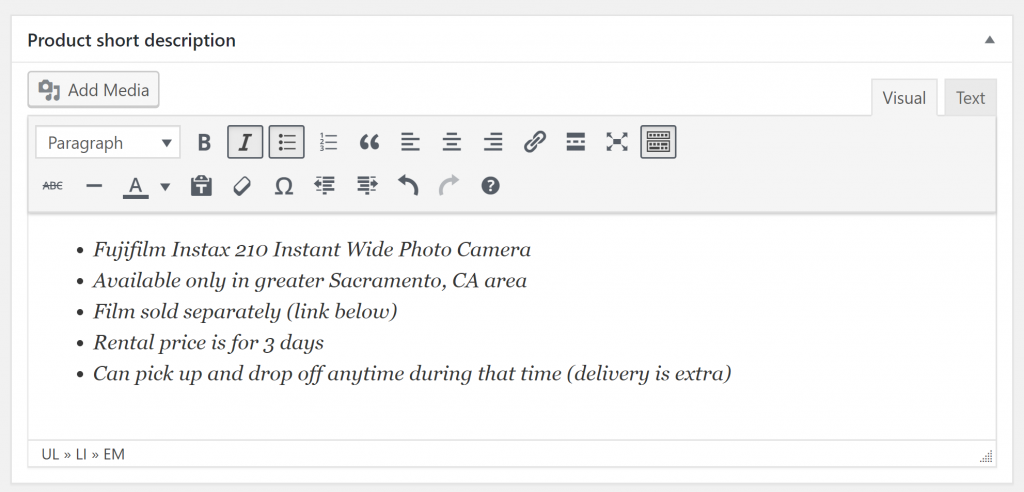
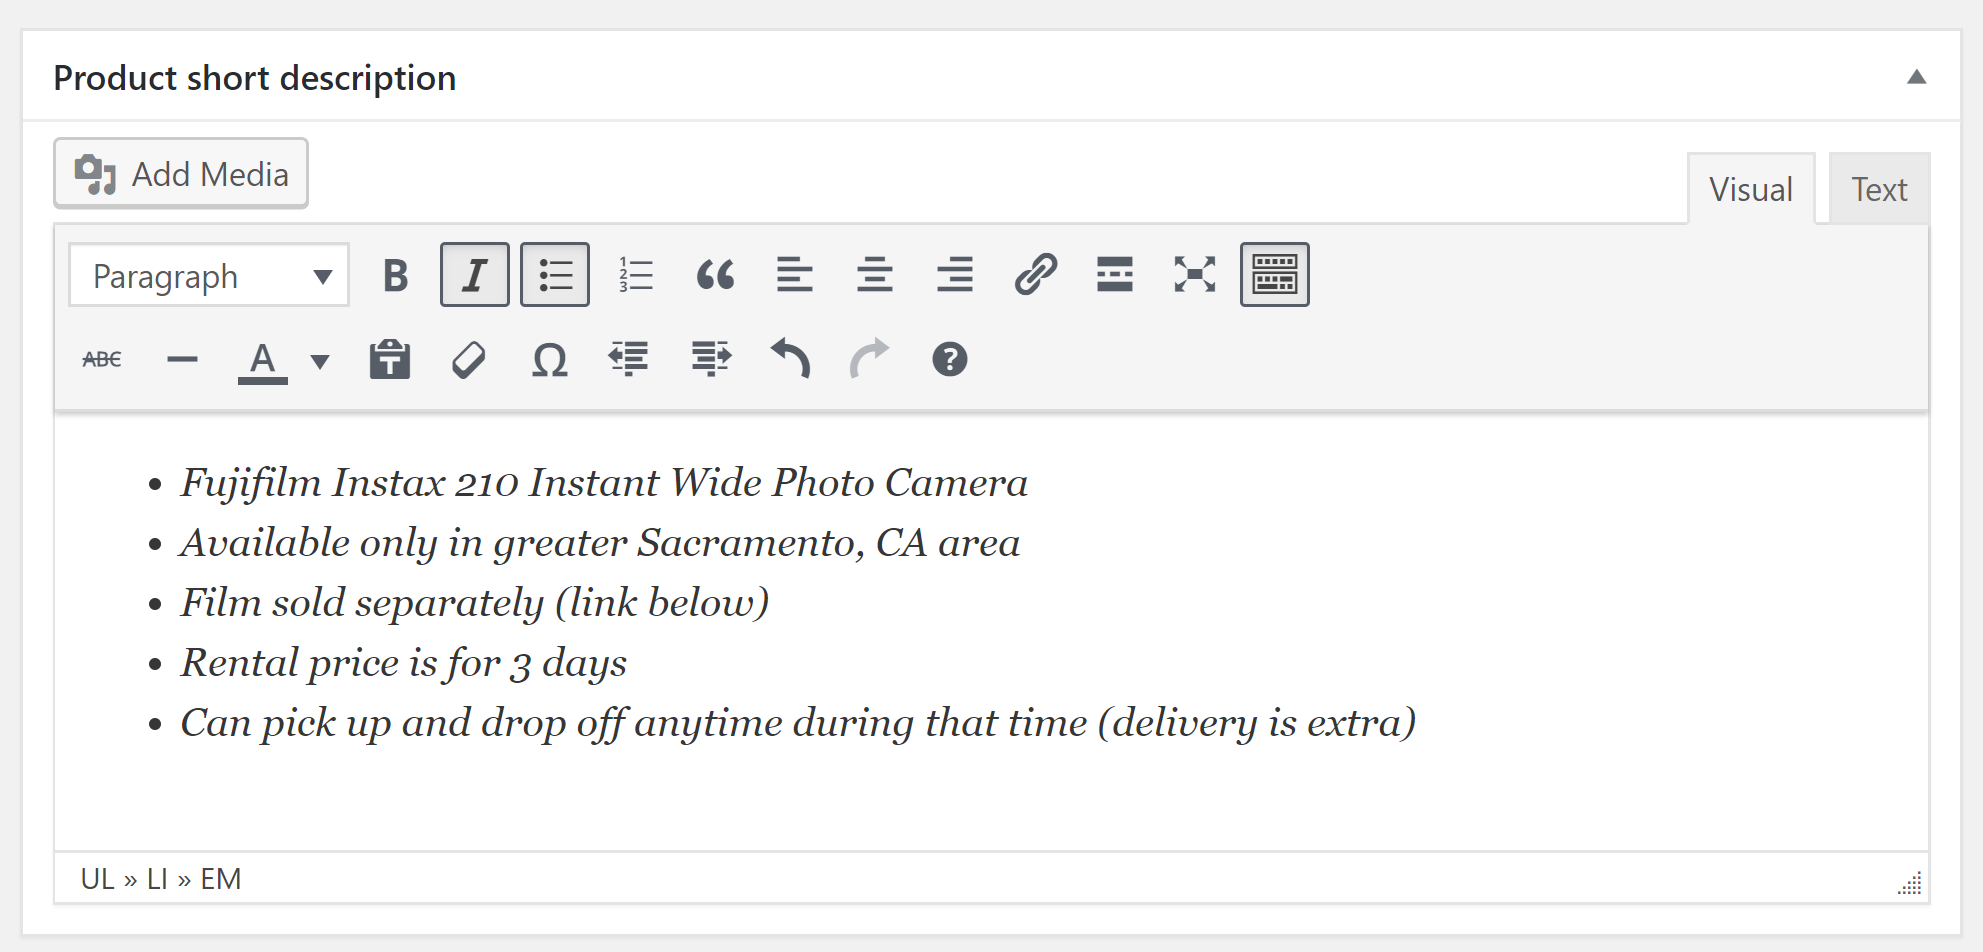
- Product Short Description: Required. This is important as it displays right next to your item picture. For the sake of customer experience, this must be in a bulleted list format. Include the following as applicable: key attributes (color, size, brand, etc), location (city/region), colors, handling, pickup/dropoff requirements, cleaning requirements, etc… Example of a good description
-
- Fujifilm Instax 210 Instant Wide Photo Camera
- Available only in greater Sacramento, CA area
- Film sold separately (link below)
- Rental price is for 3 days
- Can pick up and drop off anytime during that time (delivery is extra)
-
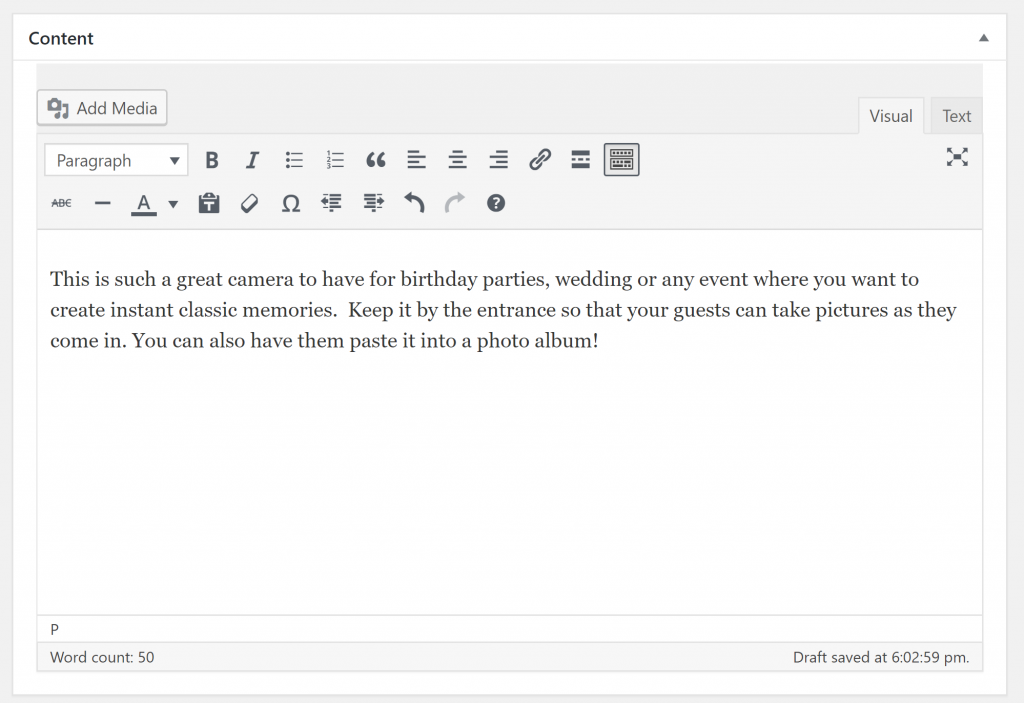
- Product Long Description: Optional. Complete in paragraph form. The more keywords you use (ex. Rental, wedding, party, your city, etc..) the more likely you are to receive traffic from search engines. This is the “cheese”. Make it sound awesome!
- Product Short Description: Required. This is important as it displays right next to your item picture. For the sake of customer experience, this must be in a bulleted list format. Include the following as applicable: key attributes (color, size, brand, etc), location (city/region), colors, handling, pickup/dropoff requirements, cleaning requirements, etc… Example of a good description
-
Publish Your Product!
- You can preview or save as well if you’re not ready to post it. You can always change the product description and data any time after publishing.
- You can preview or save as well if you’re not ready to post it. You can always change the product description and data any time after publishing.


3 thoughts on “Vendor Guide – Posting Your Rental Inventory”
Hi, I tried to post a few things today, but when I was done it said Submit for Review, so I was wondering how long is it going to take to review my products that I was trying to publish it?
Hi,
I posted some products today but the are all listed as low in stock.
Please can you correct that?
I Ave them in stock.
I can not find any drop down tab on inventory to upload my inventory.
Thank uou
Hi Julie! I’m looking into your inventory. If you can please send me photos of the items you’re referring to.
Thank you!