The first things to do once you’re approved as a Eventlyst vendor? Set up your Vendor Profile!
Your clients will need to see your logo and rental terms in order to rent from you. Here’s a quick way to do it.
NOTE: If you haven’t yet registered, you must complete your vendor profile application first.
-
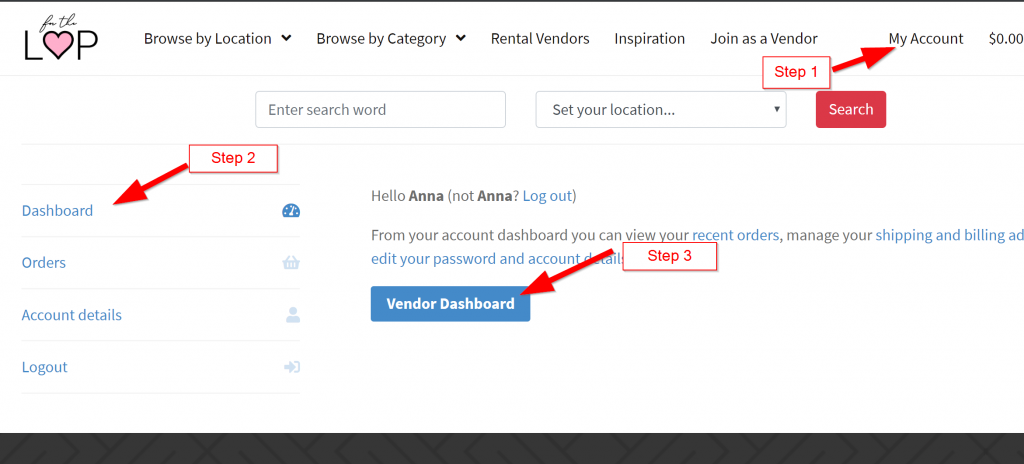
Log in to your account
You can log in to your Vendor Dashboard directly from this Dashboard Login.
Or in your “My Account” page click on Dashboard and then Vendor Dashboard.
-
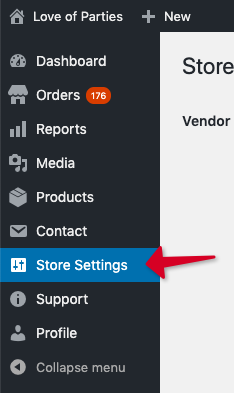
In your Vendor Dashboard go to “Store Settings”
-
Upload your logo.
If you’re updating an existing logo, use the “x” in the corner to delete the current logo and then click the “Upload Logo” button to upload a new logo.
Your logo picture can just be a picture of you or a rental item if you don’t have a logo.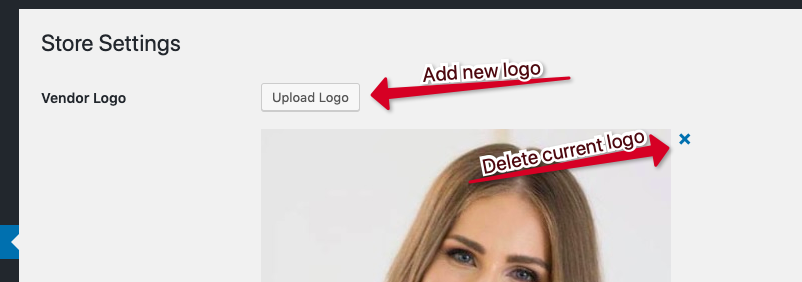
-
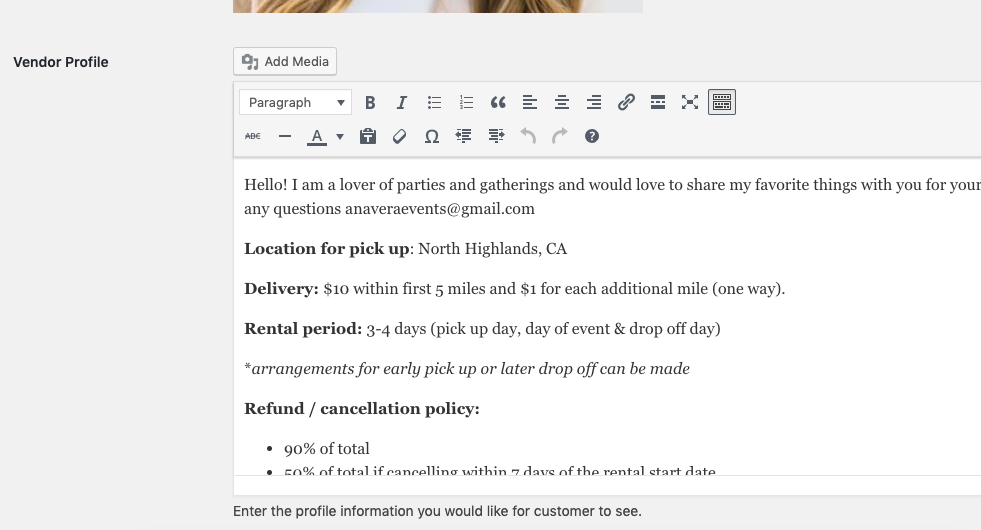
Add / Update your Rental Terms
We encourage you to put in more info about yourself. A great description builds trust and results in more rentals. Clients love dealing with a fun individual. If you are supporting a charity, love animals, have a passion for weddings – share it!
Make sure you address the most common questions clients will ask you:
-Do you deliver? What is the cost?
-Where is the pickup area?
-What is the rental period (default global setting is 3 days)?
-What is your Refund/cancellation policy?The Online Rental Agreement comes with a standard 90% cancellation refund policy due to the non-refundable 10% fee by Love Of Parties needed to pay the transaction fees.
-
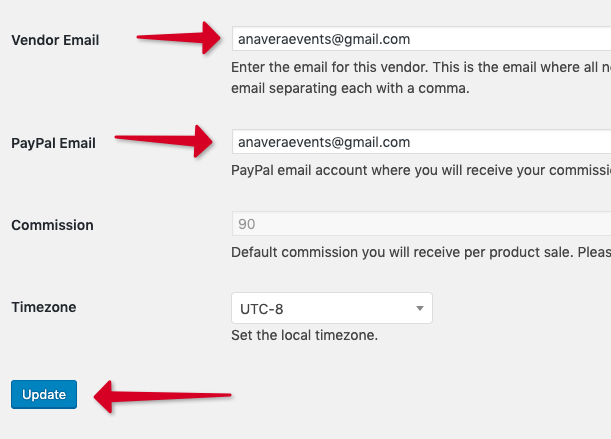
Confirm your email (for order info) and PayPal email is correct. Click Update!
Both emails are mandatory. All vendors are instantly paid through their PayPal account.